Step 1: Open the Outlook for Androidapp. The icon looks like this:

If you don't have it yet, download Outlook for Android from the Google Play Store.
Note: See www.products.office.com for more information and minimum requirements.
Step 2: Tap Get Started if it's your first time.
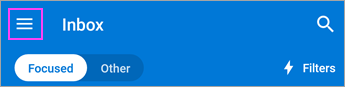
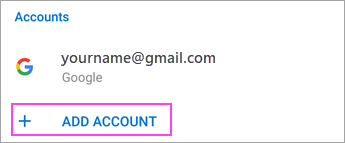
Otherwise, open the Menu and tap Settings > Add Account >Add Email Account.

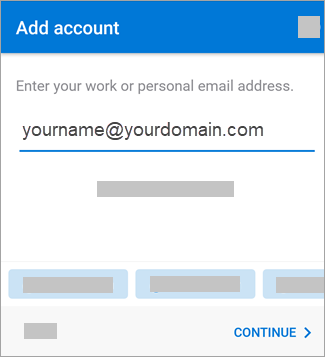
Step 3: Enter your full email address, then tap Continue.
Note: If you're asked to choose your provider, you'll have to Set up your Exchange manually or set up an IMAP or POP account.
Step 4: Enter your email account password and tap Sign In or Next.
Note: The sign in screen may look different for you depending on your email provider.
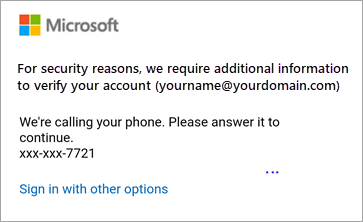
Step 5: If 2-step verification is enabled, verify yourself using the method you set up (6 digit code, phone call, or Microsoft Authenticator app).
Note: If you're prompted to Set up 2-step verification for Office 365, it may be required by your IT admin.
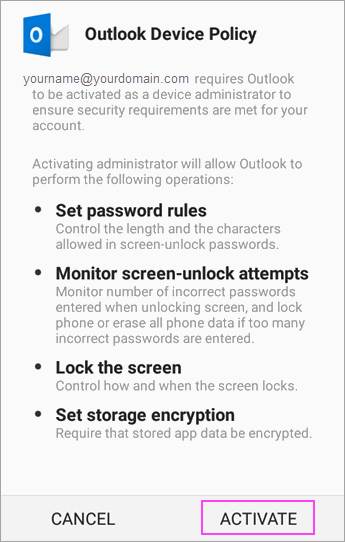
Step 6: If your IT admin has set additional policies, tap Activateand Activate again. Outlook may also request permission to access your calendar, contacts, etc. Tap Yes or Allow.